The https://www.planethoster.com/en/HybridCloud-Servers#:~:text=Dedicated%20Managed%20Cloud%20Servers address lets you order a HybridCloud server directly, without having to order a domain at the same time. The objective of this article is to explain how to use the interface available at this address.
Prerequisites
If you are already a customer of PlanetHoster, enter the following address in your web browser: https://my.planethoster.com/.
Otherwise, enter the following address in your web browser: https://www.planethoster.com/en/HybridCloud-Servers#:~:text=Dedicated%20Managed%20Cloud%20Servers.
Procedure
By entering https://www.planethoster.com/en/HybridCloud-Servers#:~:text=Dedicated%20Managed%20Cloud%20Servers in your web browser and clicking on the Order button, you open this interface:
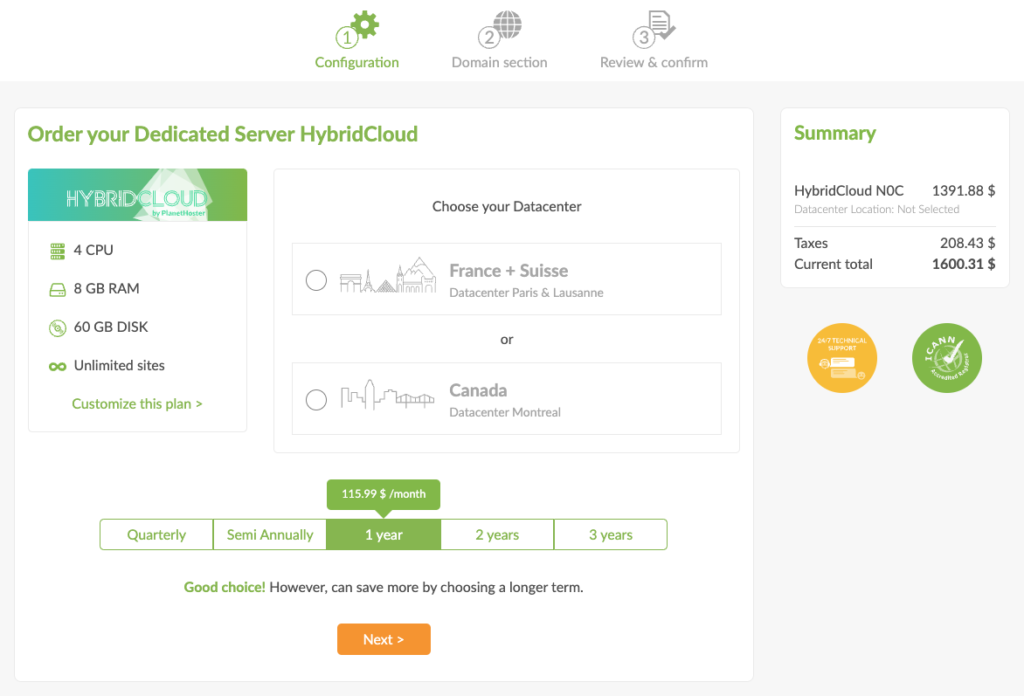
Step 1 : Configuration
To configure:
- Click on Customize this plan. Choose the technical specifications you require for your server. We offer you three predefined configurations: Starter, Recommended and Powerful:
- the Starter plan includes 60 GB of disk space, 4 CPUs and 8 GB of RAM;
- the Recommended plan includes 60 GB of disk space, 8 CPUs and 12 GB of RAM; and
- the Powerful plan includes 60 GB of disk space, 32 CPUs and 24 GB of RAM.
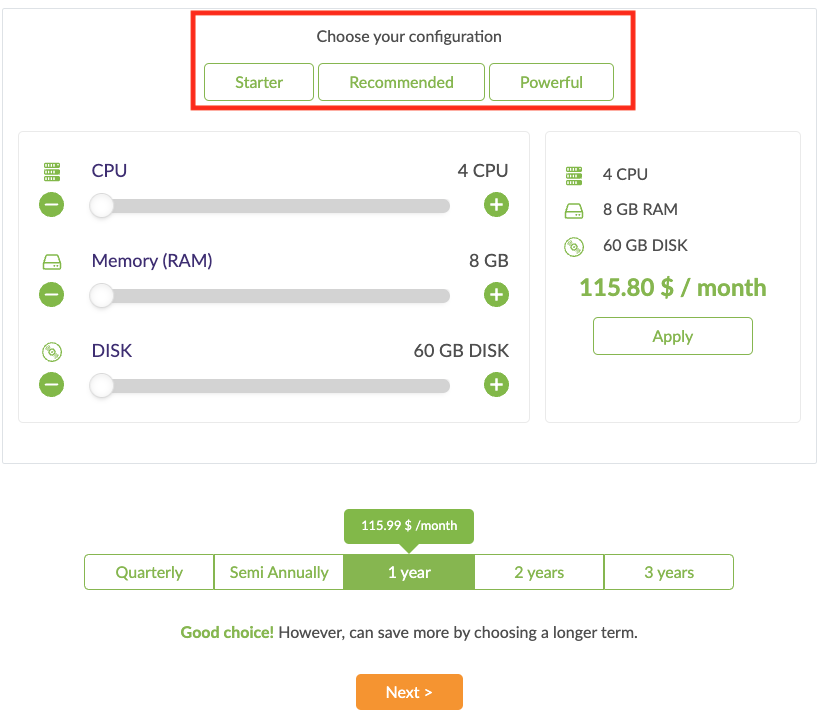
- Next, select thedatacenter location and billing cycle (monthly, quarterly, etc.):
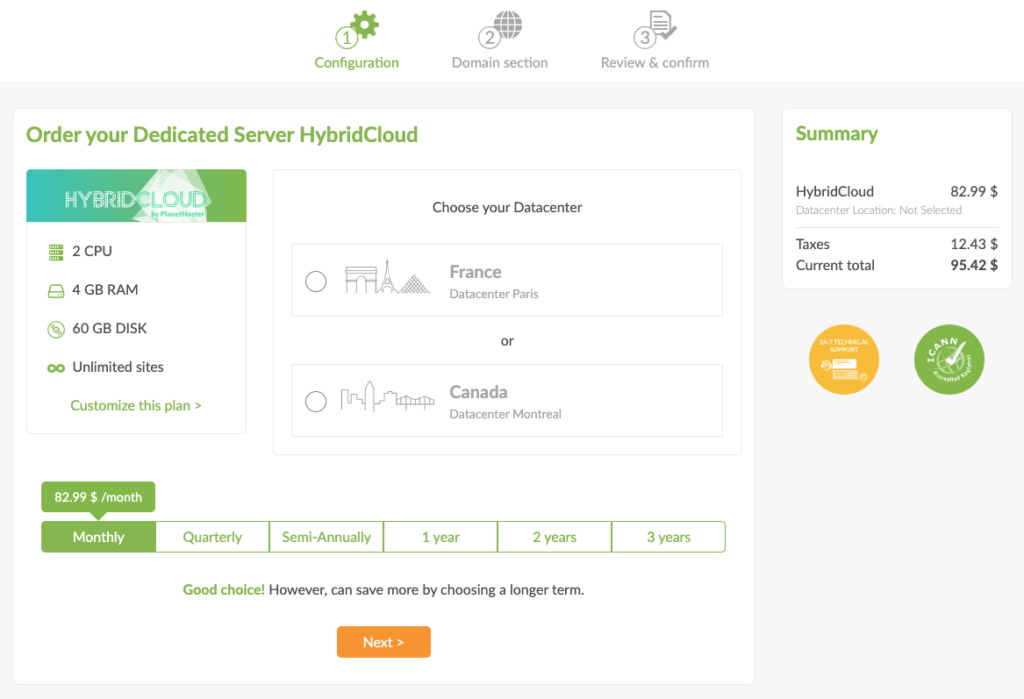
Once you have done that, click on the Next button.
Step 2 : Domain Names
You will then be asked to specify the domain name to be used with your hybridcloud plan.

Click on the Ignore button if you do not want a domain.
Otherwise:
- Enter the domain name and click on the Validate button:

- You will then see this interface:
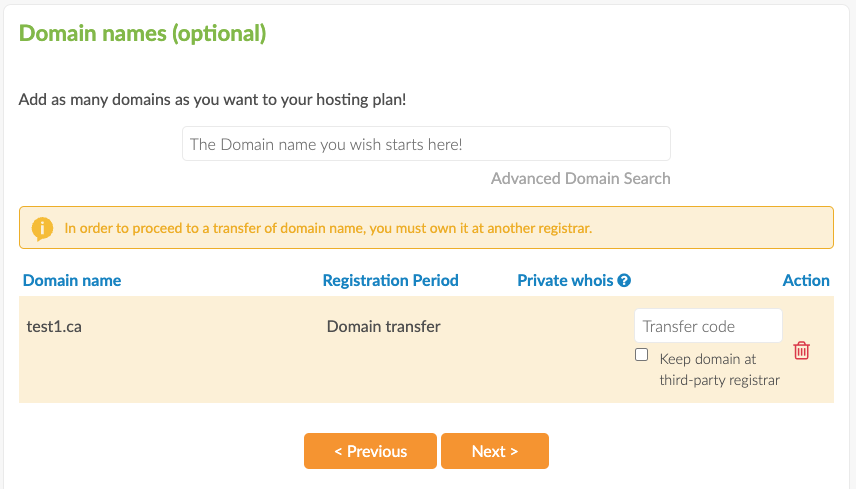
- You can use the Advanced Domain Search.
- At this point, you must determine the registrar you want to make business with:
- as explained in the article How to Transfer a Domain Name at PlanetHoster, you can fill-in the Transfer code if you want the domain to be transferred at PlanetHoster; or
- if desired, you can Keep domain at third-party registrar by checking the box.
- Click on the Next button once finished.
Step 3 : Contact Information
Here, you have two options to provide contact information, depending on whether you are already a PlanetHoster customer or not.
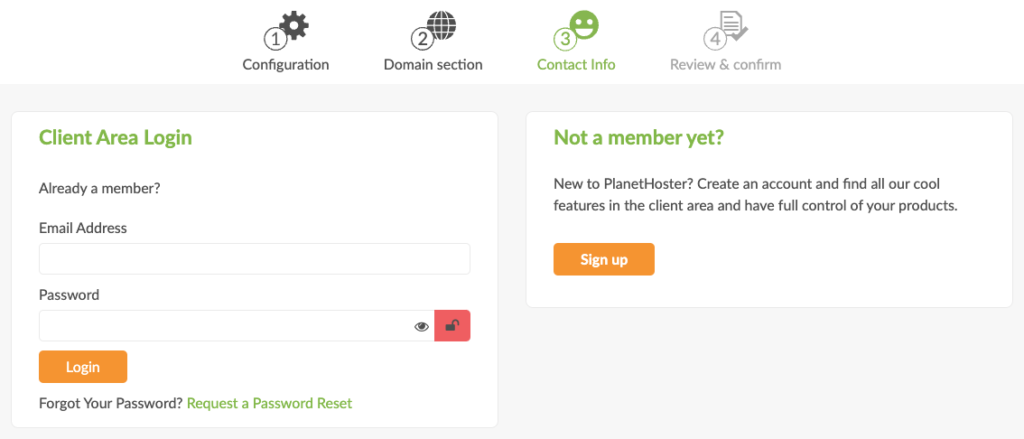
If you are a customer, complete the Client Area Login section, click on the Login button : you will then automatically proceed to next step.
If you are not yet a member, please click on the Sign up button. This interface will appear:
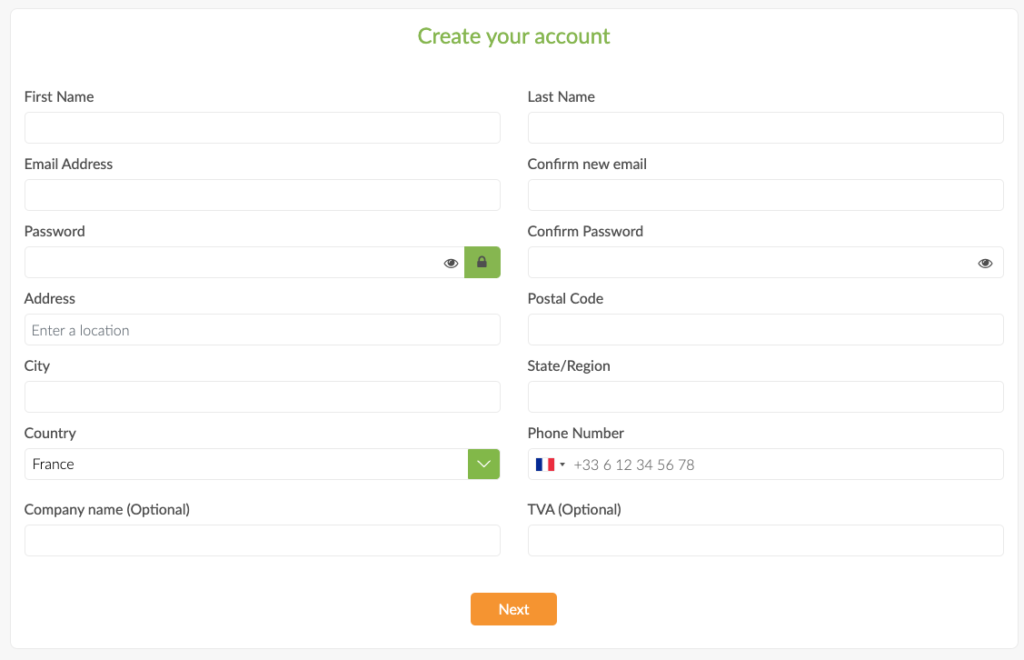
Fill in all the required fields and click on the Next button.
Step 4 : Review and Confirm
In the next window, you will need to confirm the settings you have chosen and enter the promotional code that will enable you to benefit from the discount.
- Check your chosen configuration again and, if necessary, change it:
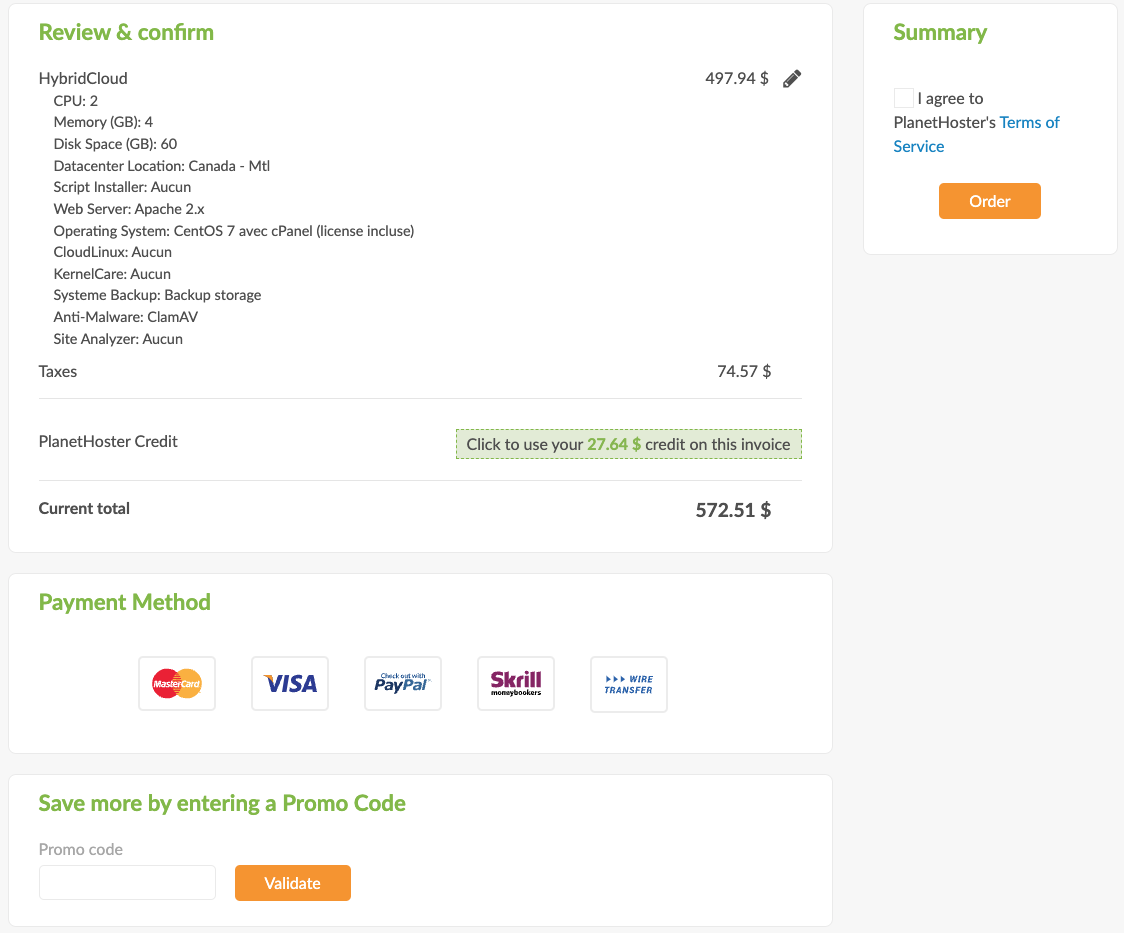
- If all settings are correct, enter the Promo code in the appropriate field and click on the Validate button:

- In the Summary in the upper right corner, check “I agree with PlanetHoster’s Terms of Use” and click on the Order button. You will then have to pay the invoice.
Last Step: Pay the Invoice
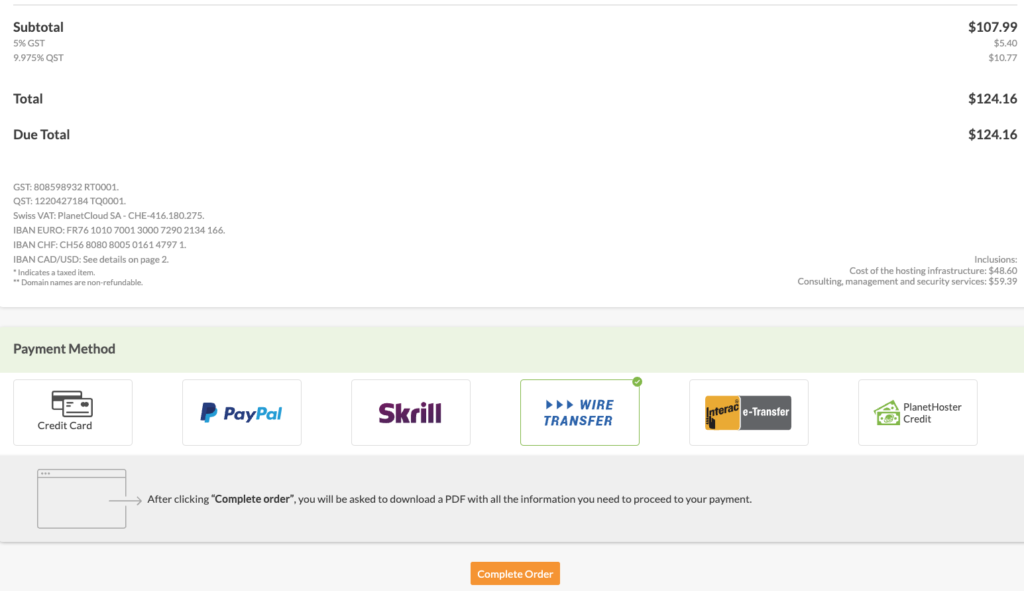
As explained in the article How to Manage an Invoice, to finalize the order, simply enter the required information and then click on the Complete Order button:
That is it! You have successfully ordered your HybridCloud server.
Set-up takes a few hours (up to 24 hours), while a member of our technical support team strengthens, optimizes and secures the configuration. As soon as the setup is complete, we contact you to provide access and instructions for migrating your old hosting plan to the new server. See the article about server delivery time.
