Introduction
The interface allows you to create a brand new hosting account. In this article, we will explain how to proceed.
The procedure varies, depending on whether you choose The World product (shared web hosting) or HybridCloud product (cloud dedicated server). The differences will be explained as we go along.
Prerequisites
Enter the following address in your web browser: https://my.planethoster.com.
Step 1
- In the menu, go to Web Hosting -> Create Account:

If you are already in the following interface, you can also click on the Create button:

- In the Specify the Main Domain of the Hosting Account field, enter the primary domain name that will be linked to the hosting account:
- Click on the Continue button.
- The fact that Valid Domain is automatically displayed confirms that the domain is available.
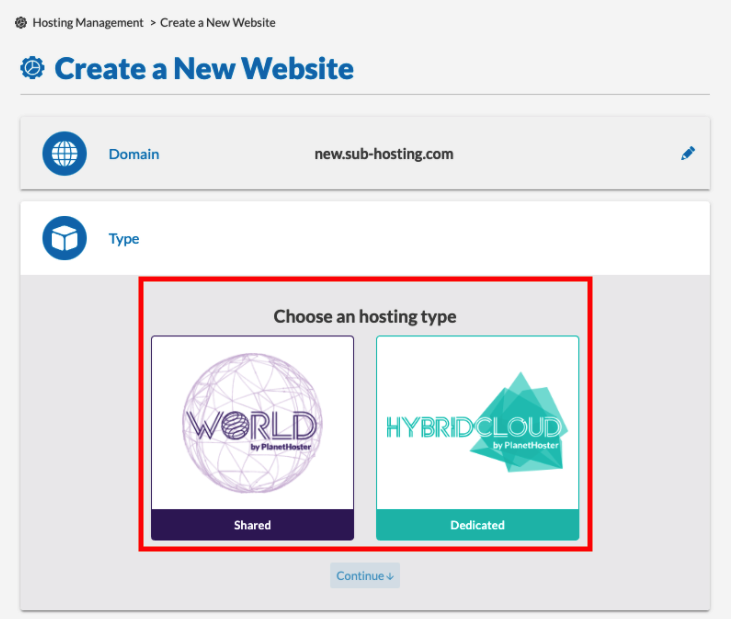
Step 2
Here you have to choose the type of server you want by clicking on the Shared or Dedicated button :
Step 3
This step will be different, depending on whether you have chosen shared or dedicated hosting. In the latter case, go directly to Step 3 for Dedicated Hostings.
Step 3 for Shared Hostings
Here you have to choose the location of the data center. Select the desired data center by clicking on the Canada or France + Switzerland button:
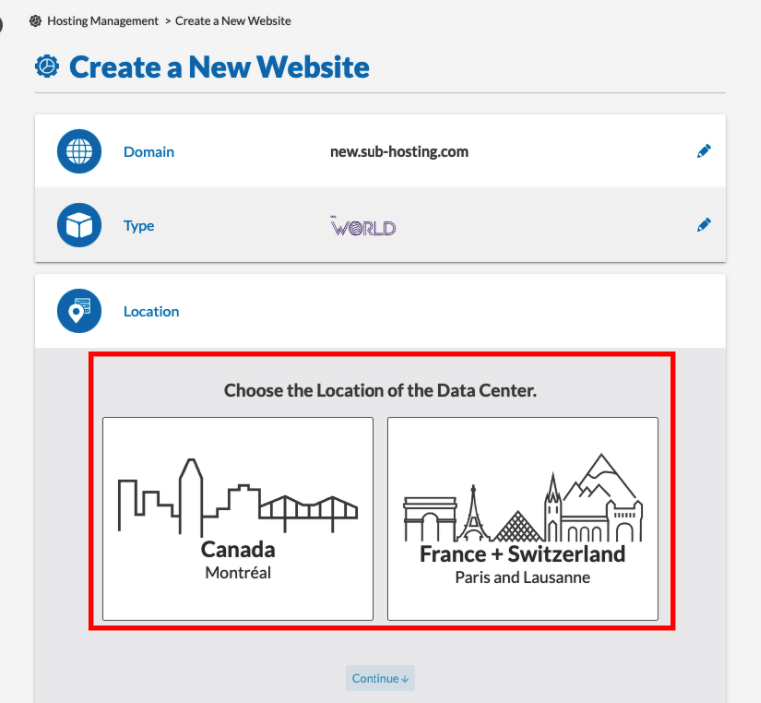
If your visitors are located in Europe or Africa, the best choice would be France + Switzerland. If your visitors are from North America or Latin America, the logical choice would be Canada. Canada is also recommended for Asia.
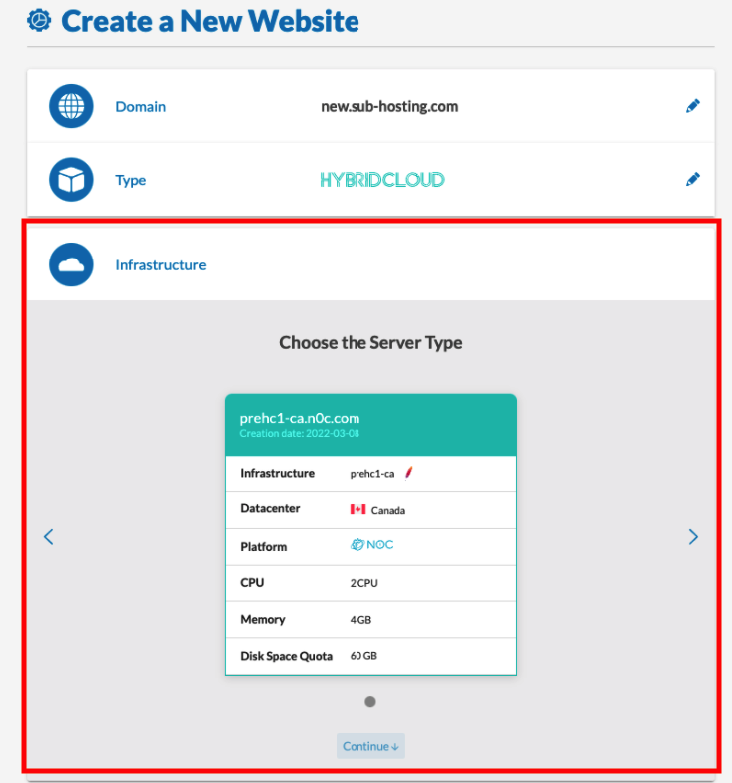
Step 3 for Dedicated Hostings
This step consists in choosing the infrastructure. Choose the dedicated server by using the navigation arrows :
Step 4
We are now at the configuration of your hosting account. Here again, the approach differs, depending on whether the hosting is shared or dedicated. In the latter case, go directly to Step 4 for Dedicated Hostings.
Step 4 for Shared Hostings
Using the sliders and the Custom button, choose the Hosting Account Resources according to your specific needs:
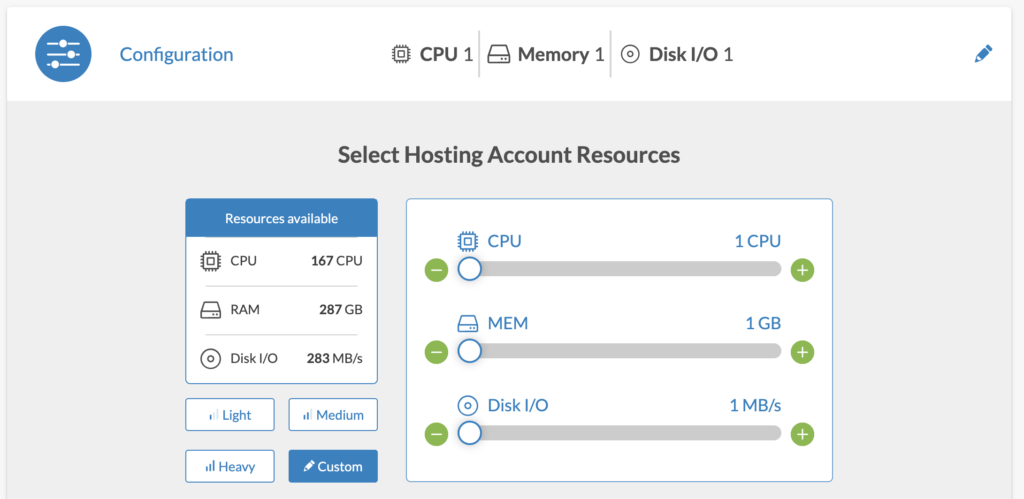
It is also possible to use the Light, Medium and Heavy resource selection buttons, which allow you to automatically adjust the resources according to predefined quantities. These quantities are calculated to suit the use you plan to make of your hosting account.
| Button | Usage |
| Light | Suitable for static sites, i.e. sites whose content does not vary according to the characteristics of the demand of the Internet users. Sites that contain only HTML pages and sites with curricula for training are good examples. |
| Medium | Suitable for static personal blogs with a light use of databases. For example, a small blog on WordPress. |
| Heavy | Such server resources are needed for CMS applications with a large database. For example, the PHPBB user community or a PrestaShop site. |
When your website already exists, you can take advantage of the high performance web servers (LiteSpeed) with the best caching system (LSCache), which allow your WordPress, Joomla!, Prestashop or any other tool to load extremely fast. To do this, simply slide the ENABLED slider to the right:

Step 4 for Dedicated Hostings
Using the sliders, choose the Server Resources according to your specific needs:

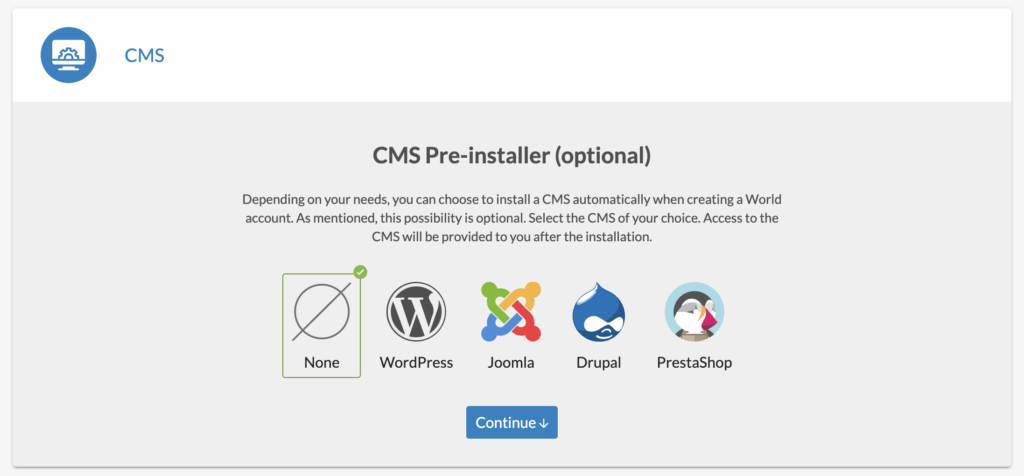
Step 5
Depending on the minimum system requirements, you can choose a pre-installed CMS from the most popular ones.
Step 6
A summary of the account allows you to check the information and edit it if necessary by clicking on the pencil icons:

Click the Create button to confirm the account creation. A message is displayed to indicate that the hosting account is being created:

Click on the Create another hosting button if needed. But pay attention before doing so! If you install a CMS, you must first follow the instructions explained in the paragraph Admin URL for CMS.
Admin URL for CMS
If you have decided to install a CMS while creating your account, the admin URL will not necessarily be DOMAIN/admin, as is the case when the CMS is created from N0C.
CMS Prestashop
For a Prestashop CMS, you shall click on the button Go to the created hosting:

You will see this message:

You will need to take careful note of the User (circled in red), as it will need to be used in the admin URL and also as the ADMIN USERNAME. Moreover, the DOMAIN of your CMS is the same as the main domain of your hosting.
Therefore, when you connect to your Prestashop CMS to configure it according to your needs (how), you will need to enter the admin URL as follows:
DOMAIN/User
NOT this way:
DOMAIN/admin
CMS WordPress
In the case of WordPress, the admin URL is DOMAIN/wp-admin. In addition, a login button is available in N0C (how).
CMS Drupal and Joomla!
When creating a hosting package with a Drupal or Joomla CMS, the admin URL is DOMAIN/admin.
Delay for the Creation of the Account
The creation of the account itself is delayed as long as it is not on the servers.
Clicking on an account while it is not yet active will bring up an interface providing details about the account, but the various buttons for performing certain actions are not yet functional. When the account is created on the servers, the buttons become usable.
Please click here for details.